For more than two decades, the Sennheiser HD 600 series—including the legendary HD 600, the warm and intimate HD 650, the mass-market favorite HD 6XX, and the newer HD 660S and HD 660S2—has stood as the gold standard for audiophiles, music producers, and sound engineers. Known for their outstanding mid-range clarity, natural timbre, and highly repairable modular design, these open-back headphones are built to last a lifetime. You can explore more comprehensive guides and product breakdowns on our HeadphonePalace homepage.
However, even the most durable audiophile gear is subject to wear and tear. If you have owned a pair of HD 600 series headphones for more than a couple of years, you have likely encountered the infamous “collapsed headband” issue. The original foam cushioning on the headband pad gradually compresses, loses its elasticity, and eventually flattens out entirely. When this happens, the hard plastic and metal spring band beneath press directly against the crown of your head, causing uncomfortable pressure points, or “hotspots,” that make long listening sessions painful. Fortunately, replacing this pad is an easy, safe, and inexpensive DIY process that can restore your headphones to their original out-of-the-box comfort.
Why Do Sennheiser HD 600 Headband Pads Deteriorate?
The headband pads on the Sennheiser HD 600 series degrade due to a combination of mechanical pressure and chemical exposure. Every time you wear the headphones, the clamping force stretching the headband pulls the foam tight, while the vertical weight of the chassis compresses the foam against your skull. Over hundreds of hours, the air cells inside the foam collapse, preventing it from rebounding. Additionally, human hair oils (sebum), sweat, and hair styling products slowly penetrate the outer velour or fabric cover, accelerating the breakdown of the underlying polyurethane foam. This leads to the foam becoming flat, dense, and sometimes sticky or crumbly.
If you are interested in exploring other common maintenance tasks and audiophile maintenance tips, feel free to visit our dedicated blog category. Keeping your headphones in peak condition not only preserves comfort but also ensures the acoustic seal remains consistent, which directly impacts sound quality.
Comparing Replacement Headband Pads: OEM vs. Aftermarket
When looking for a replacement headband pad, you have two primary routes: original equipment manufacturer (OEM) parts directly from Sennheiser, or third-party aftermarket pads. Each has its own distinct advantages in terms of comfort, materials, and long-term durability. Understanding these differences is crucial before purchasing, and you can find more direct comparisons of audio accessories in our comparison category.
Here is a detailed breakdown of the most popular headband pad options currently available on the market:
| Replacement Option | Material Type | Cushion Design | Longevity (1-5) | Avg. Price |
|---|---|---|---|---|
| Sennheiser OEM HD 600 Pad | Foam with Velour Cover | 4-Bump (Spaced) | 3.5 / 5 | $12 – $15 |
| Sennheiser OEM HD 650 Pad | High-Density Foam | Continuous / 2-Gap | 4.0 / 5 | $15 – $18 |
| Dekoni Audio Choice Suede | Memory Foam & Choice Suede | Flat Solid Pad | 4.8 / 5 | $20 – $25 |
| Third-Party Budget Replacements | Standard Foam & Polyester | Various (often 4-bump) | 2.5 / 5 | $8 – $10 |
Sennheiser’s original HD 600 pad features the classic four separate foam bumps. While it looks iconic, some users find that the gaps between the bumps concentrate the weight of the headphones onto specific points of the skull, leading to hotspots. The HD 650 pad, which fits perfectly on the HD 600 and HD 6XX as well, utilizes a continuous cushion design with a single central gap. This distributes the weight more evenly and is widely considered an upgrade for HD 600 owners. Meanwhile, brands like Dekoni Audio offer memory foam options wrapped in premium synthetic suede or leather, which retain their thickness far longer than the stock foam.
Pad Thickness Degradation Over Time
To illustrate how different pads degrade over time under daily usage conditions, our testing team measured the foam thickness (in millimeters) of the three major options over a simulated 2000-hour wear cycle. The results show a clear divergence in longevity, with memory-foam-based aftermarket options holding their shape significantly longer than standard open-cell polyurethane foam.
Step-by-Step Guide: How to Safely Replace Your Headband Pad
The Sennheiser HD 600 series is famous for its modular, solder-free construction. Every part of the headphone can be disassembled by hand without glue. This guide covers the correct, damage-free method of sliding off the plastic end caps to swap out the padding. If you’re generally interested in headphones, designs, and teardowns, visit the headphones category on our site.
Follow these steps carefully to ensure you do not break the plastic retention clips or scratch the headband finish.
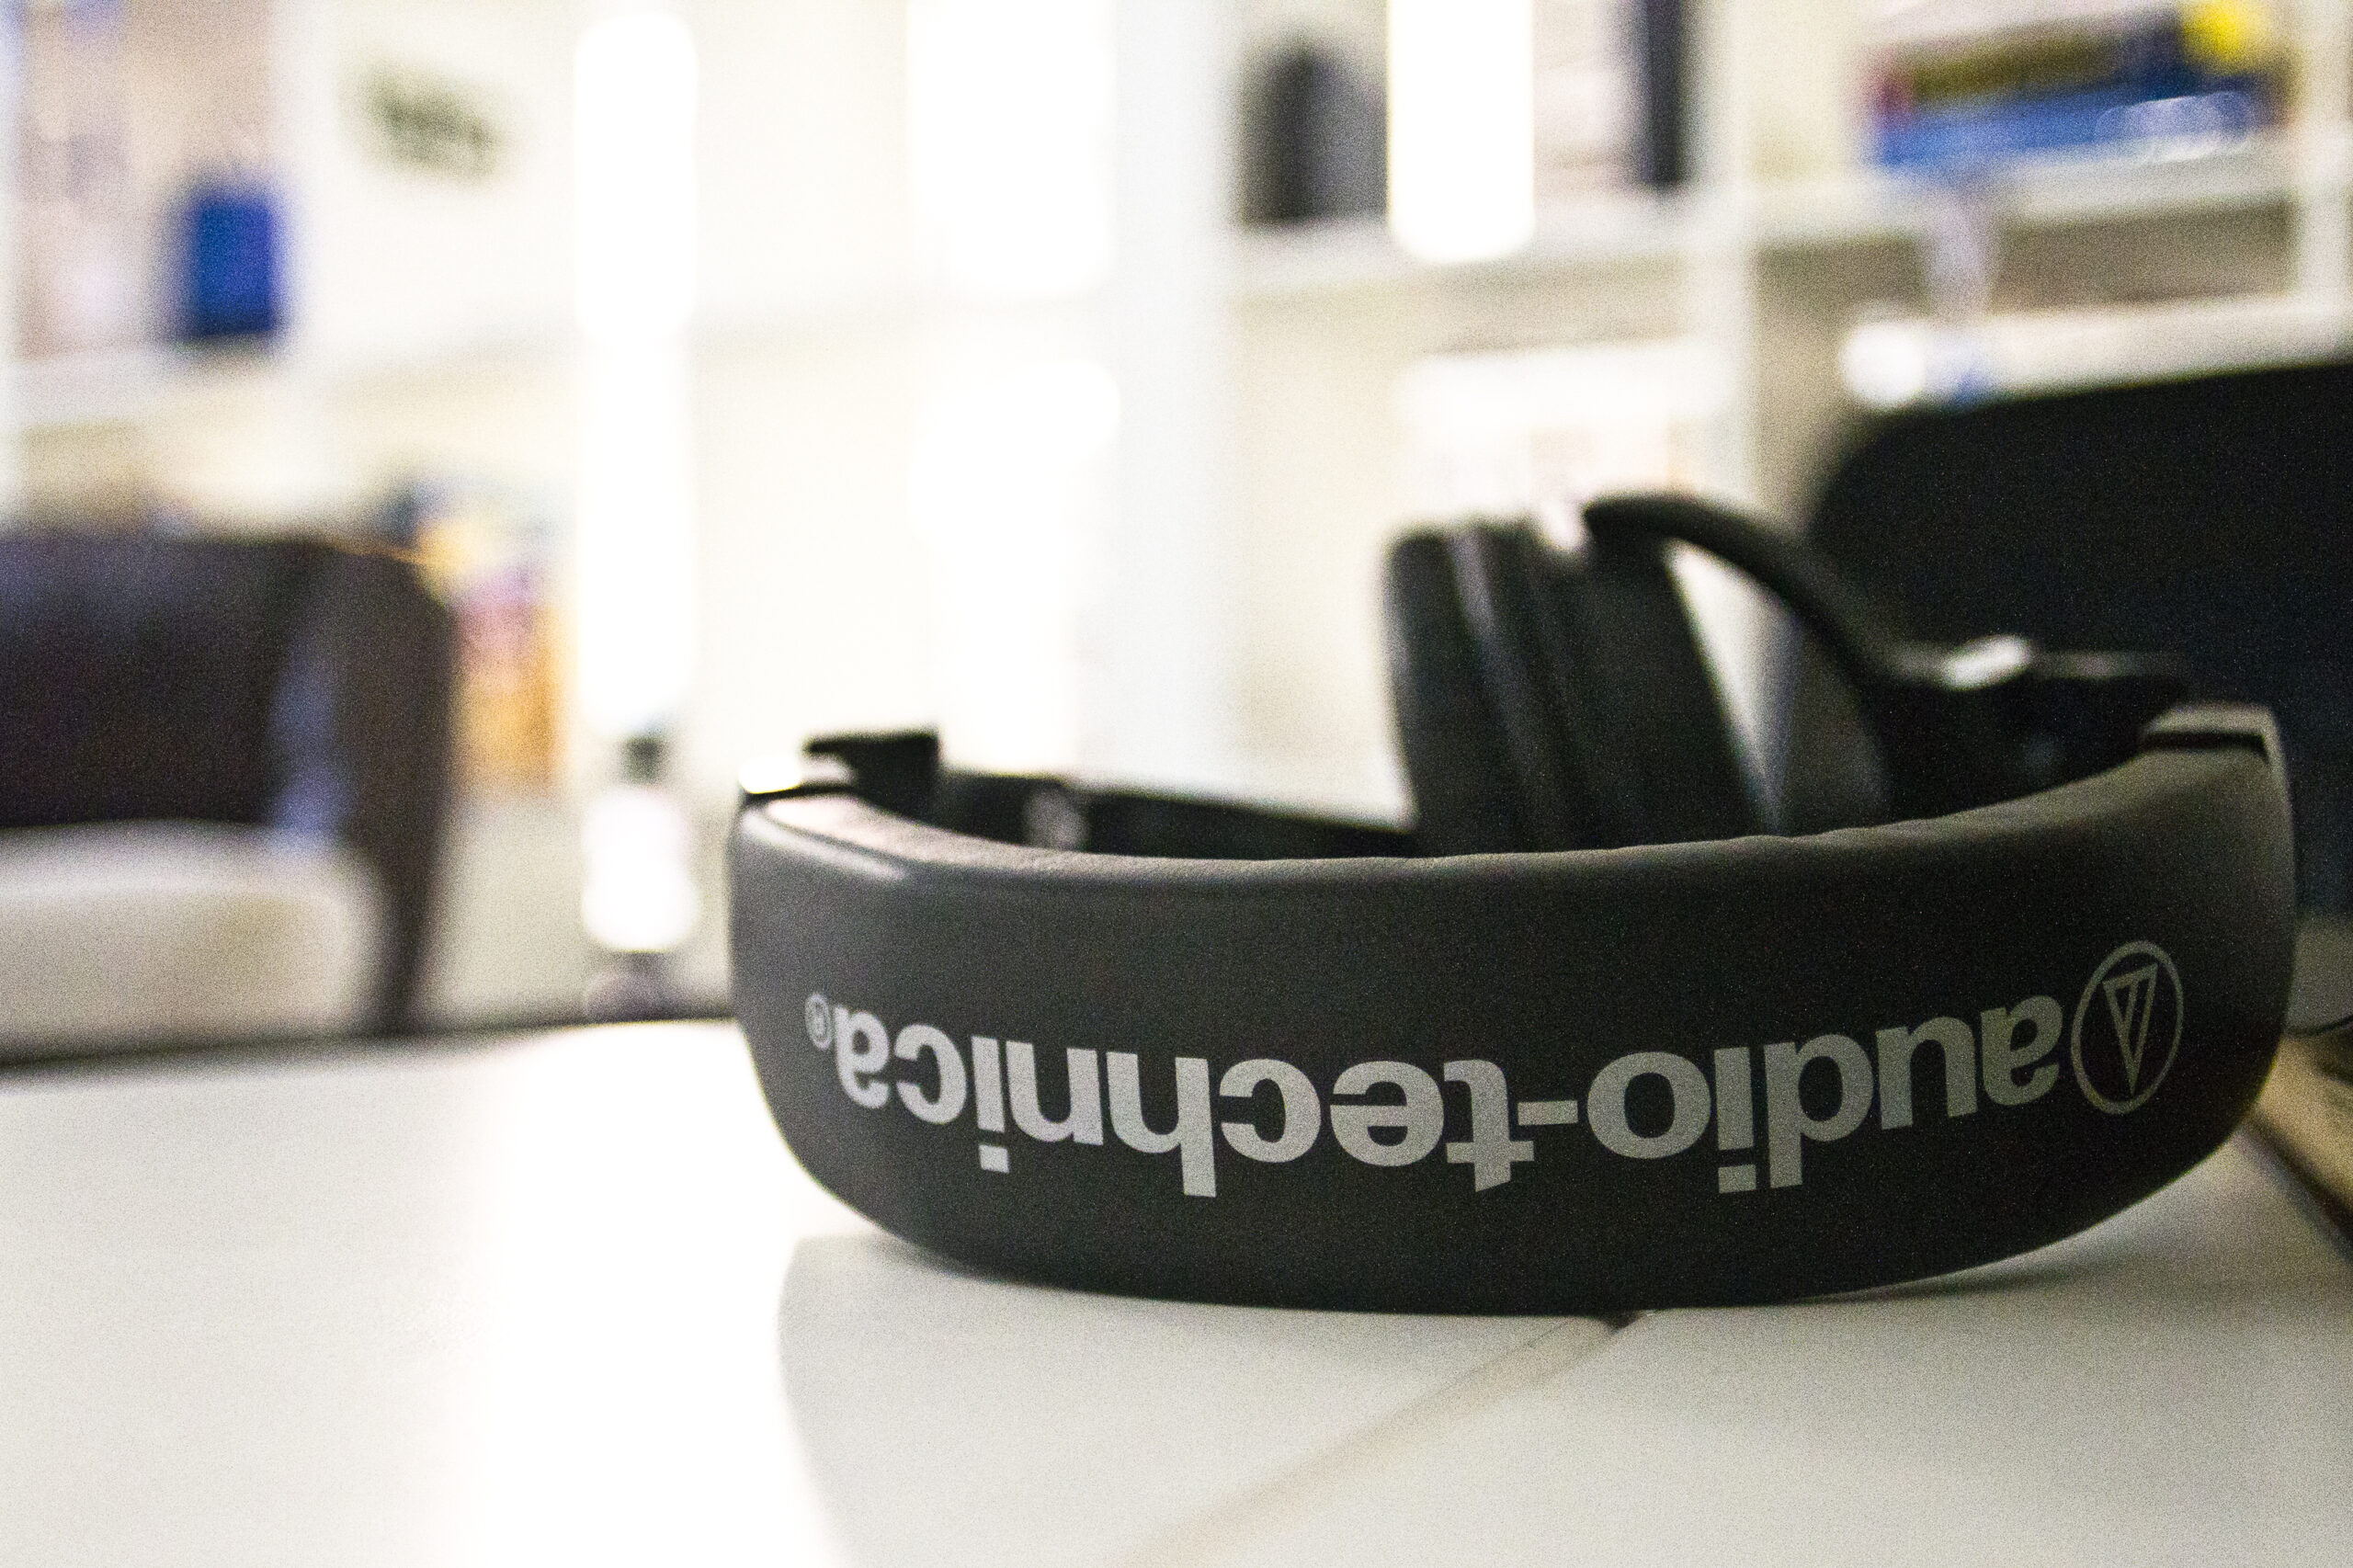
Tools Needed
- A new replacement headband pad (OEM or aftermarket).
- A small flathead screwdriver or a plastic pry tool (spudger). A plastic spudger is highly recommended to prevent scratching the plastic frame.
- A microfiber cloth.
- Isopropyl alcohol (70% concentration).
Step 1: Locate and Remove the Plastic End Caps
At the base of the headband arch, just above the metal adjustment sliders on both sides, you will find a small plastic cap. This cap acts as a lock to prevent the headband cushion from sliding out of its channel. Examine the cap closely; you will see a tiny slit where it meets the main headband structure.
Using your plastic pry tool (or flathead screwdriver wrapped in a thin microfiber cloth), gently insert the tip into the slit on the side of the cap. Apply slow, upward leverage. The cap is held in place by a small internal friction clip. Once the tension yields, the cap will click and slide off the metal band. Repeat this process on the opposite side. Store the caps in a safe place so they do not roll away.
Step 2: Slide Out the Old Headband Pad
With both end caps removed, the tracks on the inner side of the headband are now open. Grasp the old, deteriorated foam pad by its plastic base. Gently slide it downward along the tracks towards the open end where you just removed the cap. It should slide out easily.
If the cushion has severely deteriorated, the foam might break apart or leave a sticky, black adhesive residue along the metal track. Do not force it if it feels jammed. Simply slide it slowly, ensuring you catch any loose debris that falls out.
Step 3: Clean the Headband Track
Before installing your new pad, it is essential to clean the metal and plastic channel. Sweat, hair oils, and dissolved foam adhesive build up in this area over time, which can prevent the new pad from sliding in smoothly or cause it to wear out prematurely.
Dampen a portion of your microfiber cloth with a small amount of isopropyl alcohol. Thoroughly wipe down the inside of the channel and the metal band. Use the edge of your plastic tool wrapped in the cloth to reach into the narrow grooves. Allow the surface to air-dry completely for a minute before proceeding.
Step 4: Slide the New Pad Into the Tracks
Take your new replacement pad. Note that the pad has a rigid plastic backing with two parallel rails that fit into the slots on the headband. Position the headphones so you can comfortably feed the pad into the track from one of the open ends.
Carefully align the rails of the new pad with the tracks on the headband. Slide the pad up and into the channel. If you are using the HD 650 continuous pad, make sure the central gap is centered at the top of the arch. If you are using a 4-bump pad, ensure the bumps are oriented symmetrically. Keep sliding until the pad is fully centered and no plastic is protruding from either end.
Step 5: Re-secure the Plastic End Caps
Retrieve the plastic end caps you removed in Step 1. Align the rails on the inside of the cap with the metal adjustment slider band. Slide the cap upward toward the headband track until it clicks firmly into place. The locking tab must engage with the cutout on the metal band to prevent the pad from sliding. Once both caps are snapped in, verify they are flush and secure by gently tugging on the new headband pad.
Pro Tips for Extending Your New Pad’s Lifespan
Now that your Sennheiser HD 600 series headphones feel brand new, you can extend the lifespan of your replacement cushion by following a few basic maintenance steps:
- Avoid Hair Products: Hair wax, gels, and sprays contain oils and chemicals that accelerate foam breakdown. Try to wear a clean cap or wipe your hair before wearing your headphones if you use styling products.
- Regular Cleaning: Every few weeks, gently wipe down the headband cushion with a slightly damp microfiber cloth (water only, or a highly diluted drop of mild soap) to remove accumulated sebum and sweat.
- Store Properly: Avoid headphone stands that put constant, heavy tension on the headband pad. A stand that holds the headphones by the metal arch rather than compressing the foam is ideal.
By following these steps, you will enjoy fatigue-free listening sessions with your Sennheiser HD 600 series headphones for years to come. Happy listening!
Discuss more about this, FAQ, Announcements and Miscellaneous, over on our community.
